I am a big fan of making my own pickles.
My cupboards are packed with all kinds of random vegetables that I’ve preserved indefinitely. Pickled cabbage? Check. Pickled asparagus? Check. Pickled eggs? Check. When I have the time (and depending on the type of pickles I’m making), I do it the way grandma did, canning my pickles in a boiling water bath so that they are shelf-stable. This, however, can be a time-consuming and grueling process, so I often opt for the quicker route: refrigerator pickles. Refrigerator pickles are super quick and easy to do. In fact, it is just three simple steps:
1. Prep your pickles
Carefully clean and prepare the vegetables or fruit (or eggs) that you’d like to pickle. When possible try to purchase un-waxed produce. If you can’t find un-waxed, just blanch them in boiling water for a few seconds and scrub off the wax. You can leave them whole or chop or slice into a size of your choice.
2. Make your brine
The brine is the most important part of your pickle and usually consists of a mixture of salt, vinegar, spices, and sugar. Combine the elements of your brine together in a pan and bring to a boil, and simmer for a few minutes. Remove from the heat and allow the mixture to cool a bit.
3. Make your pickles
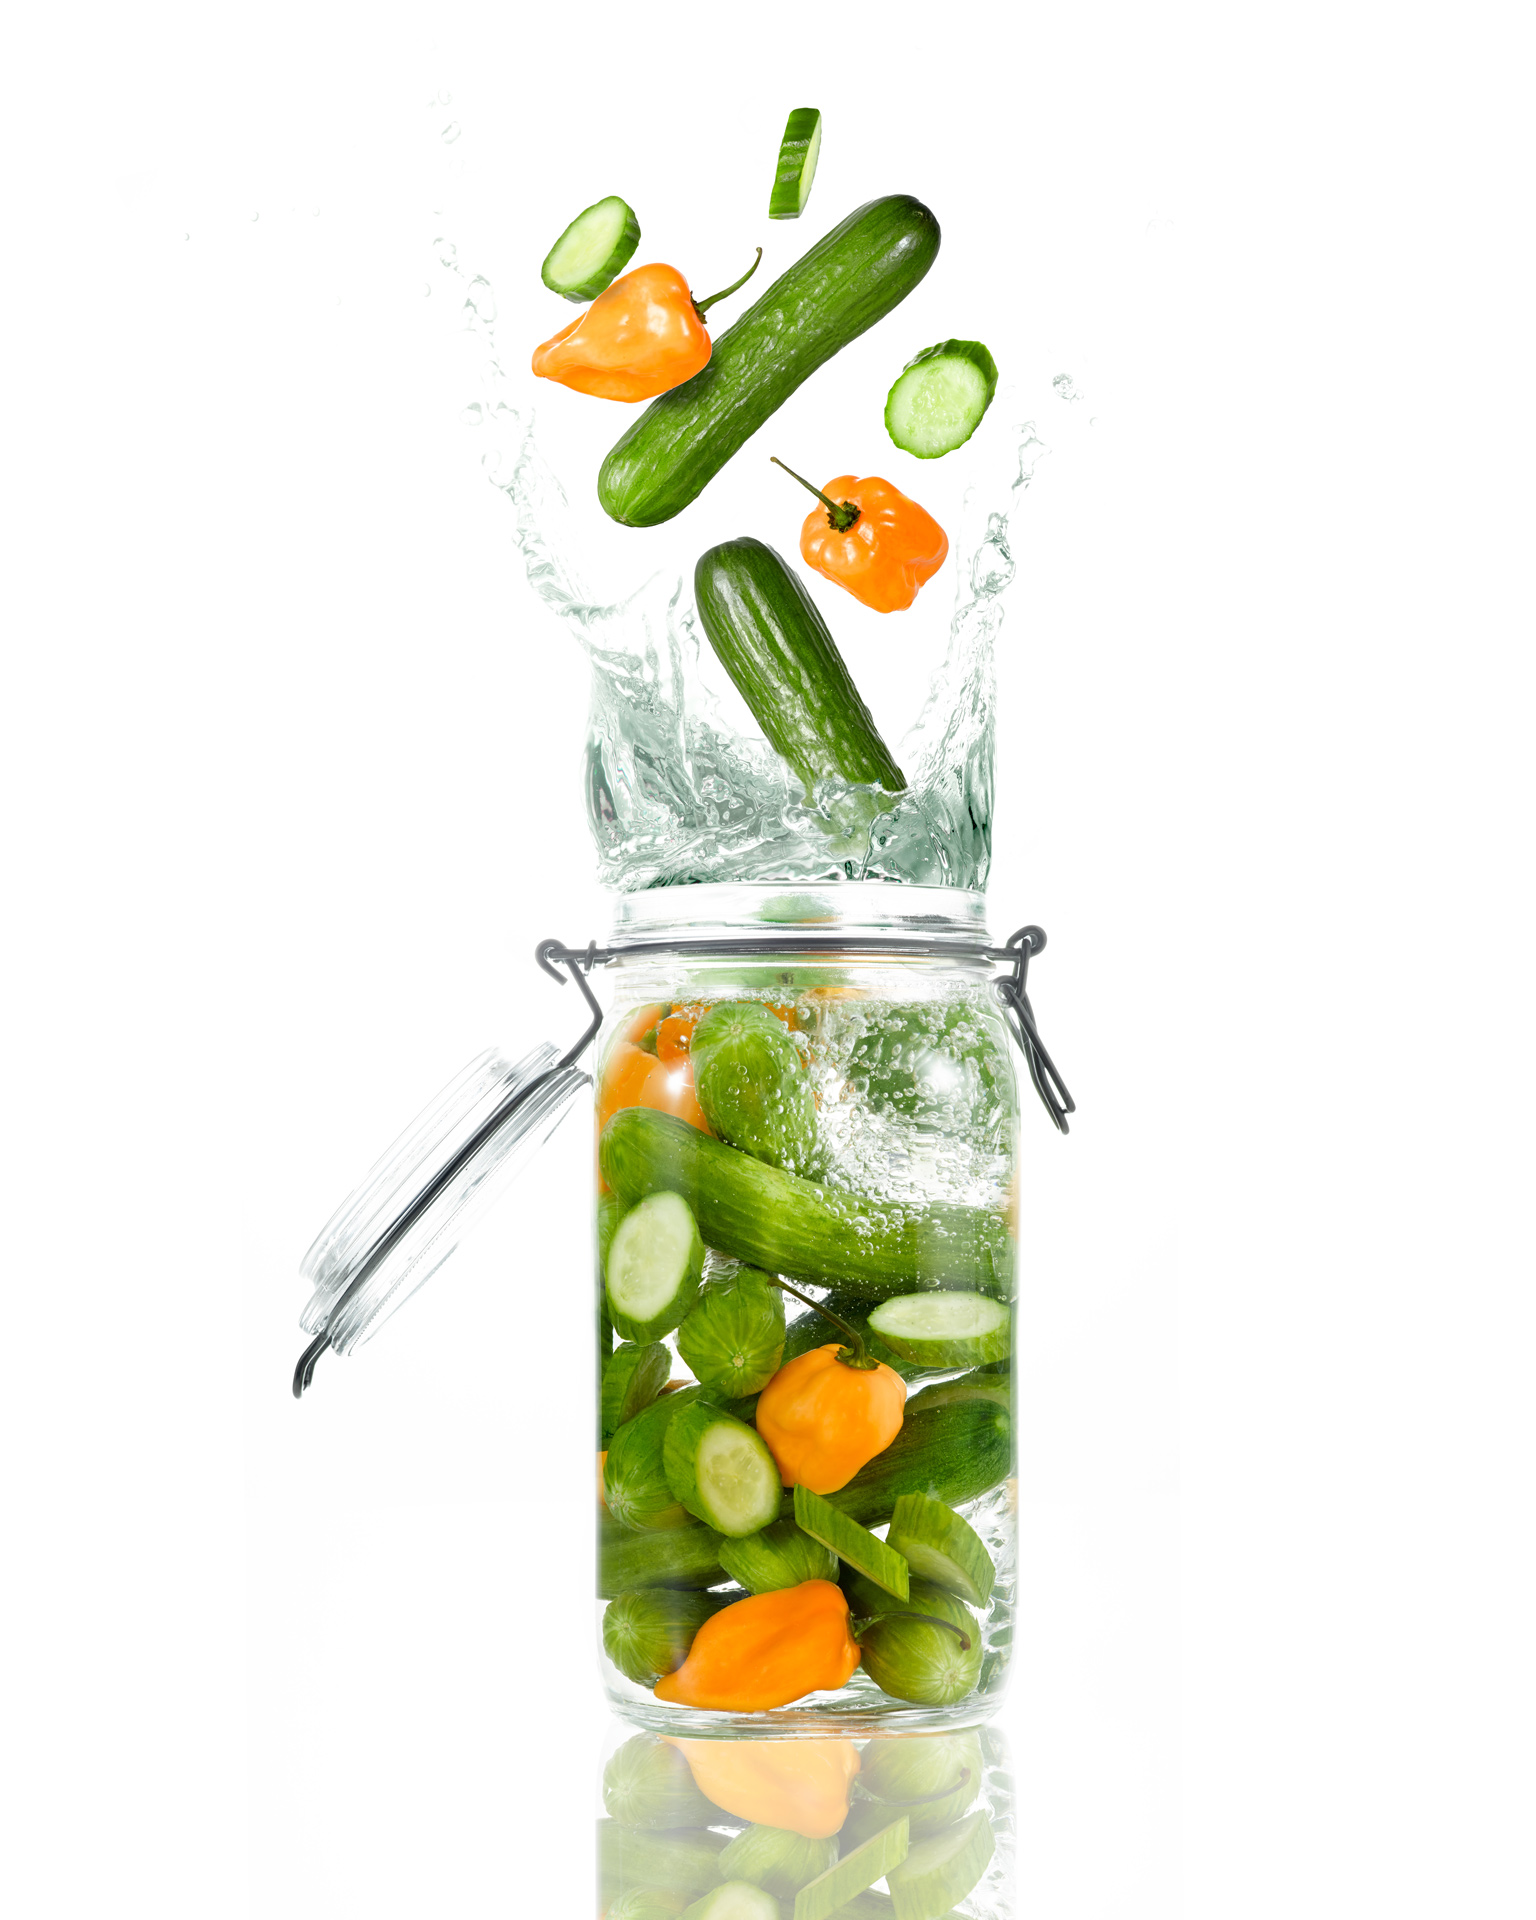
Pack your pickles into a clean, non-reactive jar that can be sealed tightly. Regular old mason jars work great. Carefully pour your brine over the pickles and fill to the top, making sure all of your pickles are submerged. Allow the mixture to cool, then put in the fridge.
Most pickles will be ready in a couple hours or a few days and will live happily in your fridge for several weeks. Experiment with different
combinations and spices. One of my favorites is a fiery hot pickle with habaneros! Not for the faint of heart! n

No Comments